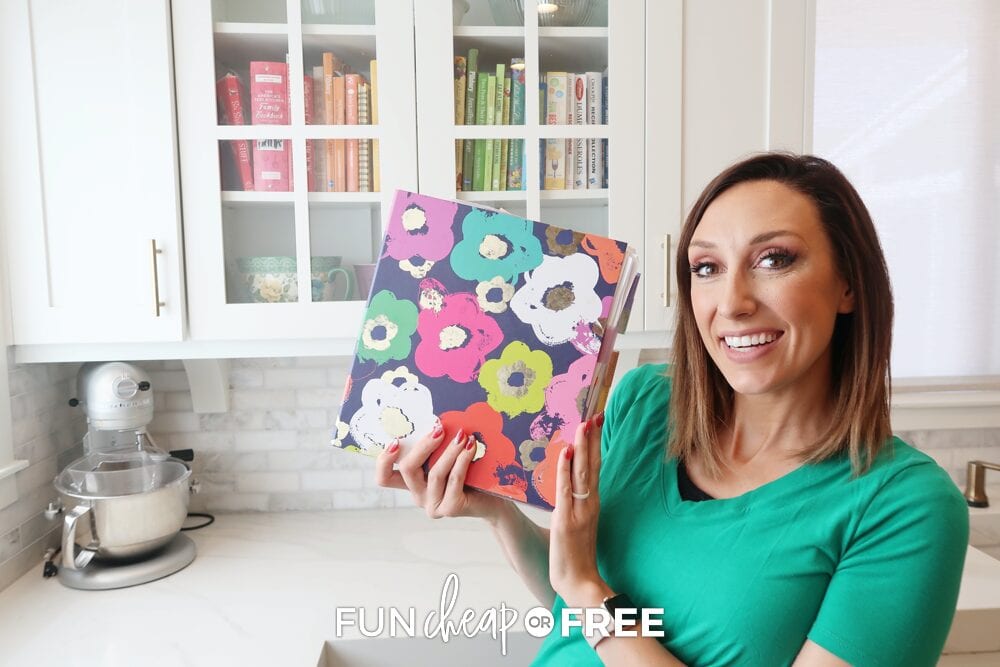
Quit looking through your whole cookbook shelf or Pinterest board to find the one recipe you're wanting to make! A recipe binder is the best way to keep your favorite recipes organized and in one place so you can always find what you need in a few turns of the page.
If you've been around for longer than about 2.5 seconds, then you know I'm all about meal planning, shelf cooking, grocery shopping on a budget, and feeding my family affordable and filling meals. But want me to let you in on a little secret?? I actually despise cooking! Literally, I don't like it at all, not one bit.
*Note: When you click the links in this post, we may receive a commission at no extra cost to you.
BUT I do like how much money we're able to save versus eating out, that it sets a good example for our kids, and that it allows us to be able to spend our hard-earned money on things I'd rather spend money on! Enter one of my biggest secrets… the recipe binder. It's the perfect way to cook regularly, affordably, and simply, for your family! So, what are you waiting for? Let's get to all the juicy details!
Don't forget to subscribe to our YouTube channel, we release new videos weekly! It's some fun you definitely don't want to miss out on.
Watch the video over how to set up a recipe binder online HERE or keep scrolling for a look at my recipe binder below… you totally need one!
So simple, right? Keep on reading for a recap!
WHY YOU NEED A RECIPE BINDER
Remember when your mom or grandma had the fun handwritten recipe cards you could flip through and find what you needed? Well, the times have changed and more likely than not, you're probably not writing down your favorite recipes any more.
If you're anything like I used to be, then you find an awesome recipe on the internet the whole family loved, but then you can never find it again because you can't remember what it was called or which website it came from.
This is where a recipe binder comes in to save the day!
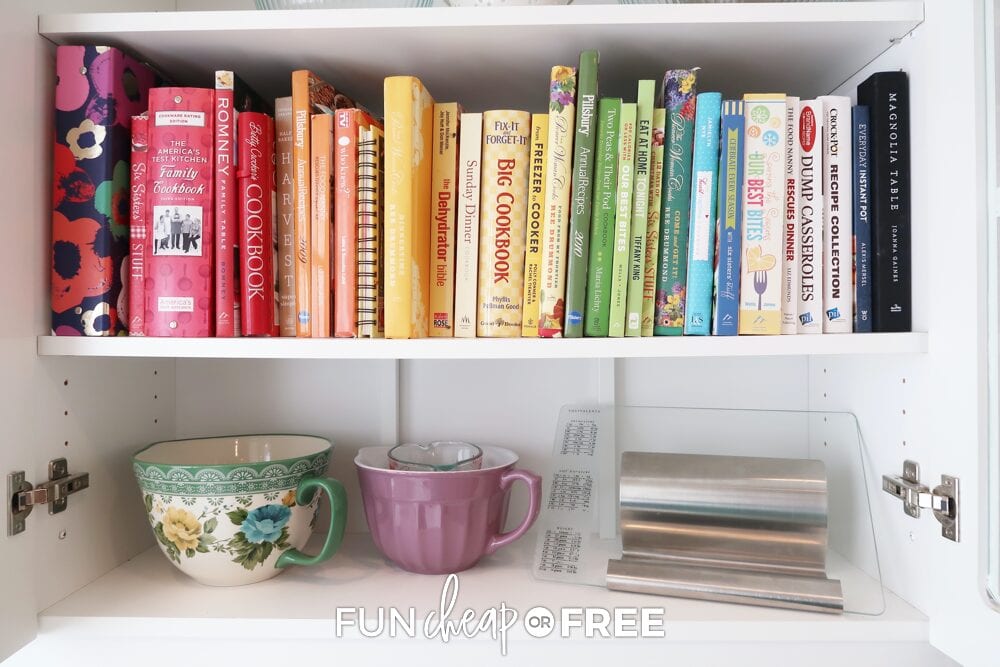
Print those recipes you just made and loved and keep them in your new favorite kitchen tool. I even go so far to make copies of recipes from cookbooks and put them in the recipe binder! It's so much easier to find them because you don't have to search through 20 different cookbooks… Even if they are all beautifully displayed in a rainbow. 😉
SUPPLIES NEEDED FOR A RECIPE BINDER
Alright, now you have all your favorite recipes, let's get them in your recipe binder! Here are the tools you'll need to make your own:
- Binder – Obvs go for the cute one if you can find it, but don't spend a lot of money! Most importantly, you want it to be sturdy and big enough to hold all of your family's tried and true recipes as you add to it.
- Dividers with Tabs – A recipe binder is all about organizing your recipes to make them easier to find, so you'll need some dividers that can hold up and withstand the test of time. Plastic is the best way to go!
- Page Protector Sheets – Okay, so you don't have to have your recipes in these sheets, but they'll really help the pages last longer if you do. They also clean off easily if there are any spills.
- 3-Hole Punch – If you choose to skip the page protectors, then you'll need to punch your pages so they'll fit in the recipe binder.
Super easy! You're going to love this so much, you'll want to make one for all your best friends and family members. Luckily they make great gifts that won't cost you a fortune!
KEEP YOUR BINDER ORGANIZED
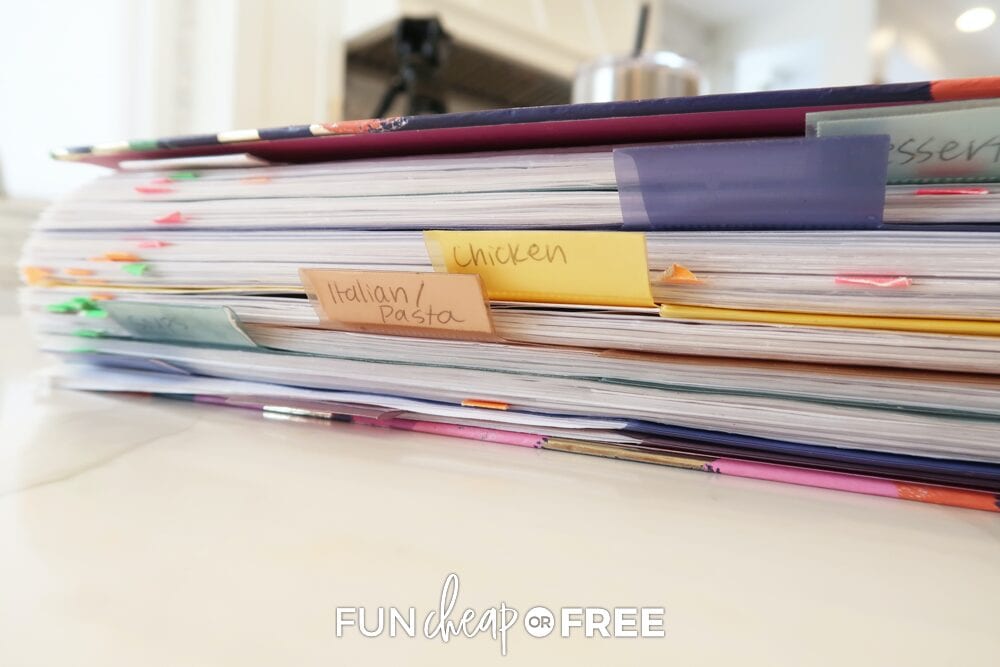
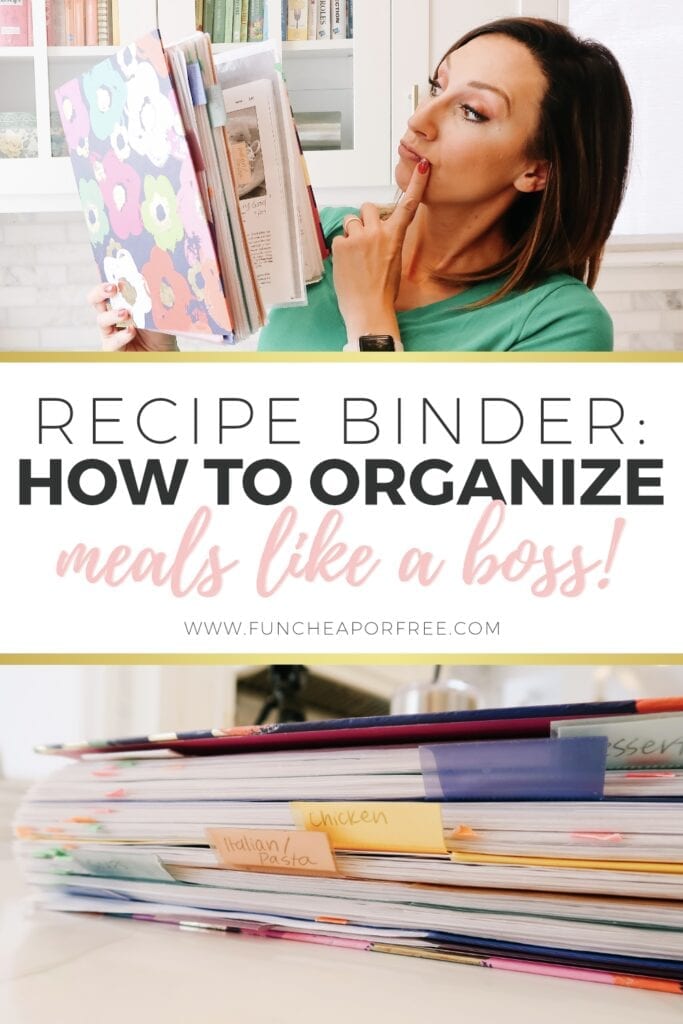
The key to easily being able to find the recipe you're looking for is to use those dividers and keep it organized. Do whatever makes the most sense to you, but I recommend organizing it by protein. That way if you have something sitting in your fridge or freezer that needs to be eaten, you can easily turn to those recipes to find one that will work with the ingredients you have.
Here's how I have mine organized:
- Appetizers/Sides/Breakfast
- Soups
- Italian/Pasta
- Chicken
- Beef/Pork/Seafood
- Desserts
You can easily get a lot more detailed and break those down into separate categories, such as casseroles, slow cooker, Instant Pot, sheet pan, one-pot, etc. if that helps you keep it better organized and find your recipes.
HOW TO MAKE THE RECIPE BINDER WORK FOR YOU
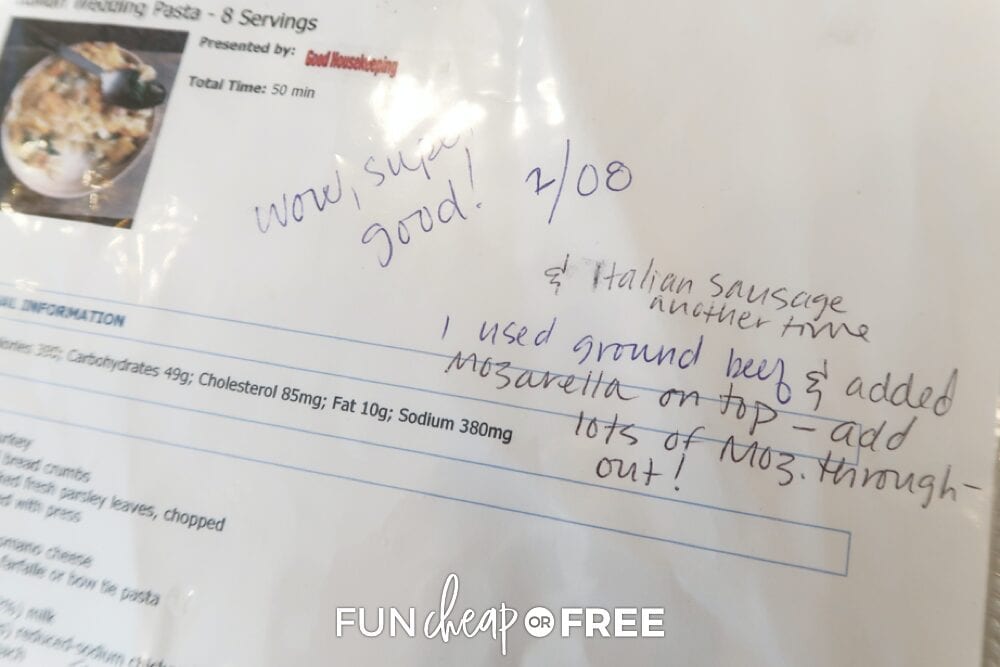
There are a few things you should write down when you print off your recipes before adding them to your binder. These will save your bacon the next time you make it!
- Make a Note – Write down your family's reaction towards the recipe. This will help you remember who all loved it the next time you go to make it.
- Write Down Adaptations/Substitutions – You'll never be able to remember what changes you need to make to the recipe the next time you make it! Help yourself out and write down any changes you made to it or any substitutions you tried out and loved.
- Only Add Recipes You've Tried and Liked – Remember, this recipe binder is only for the recipes you've made and the whole family (minus the picky eaters) liked! If you tried it and it was just meh, don't add it.
- Have a Separate “Need to Try” Binder – If you've printed out recipes to try but haven't tried them yet, create a “Need to Try” binder and add them to that. Keep it organized in the same way so you can easily find a recipe that uses the ingredients you have on hand. Then once you try it and love it, you can make any notes and move it to your tried and true binder.
This recipe binder is going to become a member of the family and will hold so many great memories as you cook for your family over the years! It also makes it easy for other members of the family to easily be able to find meal ideas or cook the meal on the day of.
WHERE TO FIND RECIPES TO HELP YOU GET STARTED
Obviously you need some recipes to start filling up your binder to make planning meals easier! Pinterest is always a great resource when you're looking for anything and everything to give you ideas. AllRecipes.com is another of my go-to's because you can search for recipes by the ingredients that you have, which is what shelf cooking is all about!
Ye ‘ole faithful blog also has some of my favorite recipes, not to toot my own horn or anything… You can find those tried and true recipes here and on ShelfCooking.com as well!
Alright, well there you have it! You're now the meal planning master with you handy dandy recipe binder, filled to the brim with your family's favorite meals. What's your go-to tried and true meal the whole family loves? Share them with me in the comments below, I'm always looking for new meals to try!
Wanting more great ideas?
- You can't go wrong with this dinner ideas list when you're trying to find new recipe ideas!
- It's so important to eat dinner together as a family, here's our favorite reasons why!
- Have a weekly leftovers night to make dinner easier on those busy nights!
Happy recipe binder-making!

I also have one of these binders! It is a lifesaver when it's five o'clock and I have three faces staring at me for food. I also have a list of all of the meals I make broken down by the main ingredient (pasta, beef, chicken, chuck, veggies, etc.) so that when I get the grocery store flyer I can really take advantage of the meats on sale. I saw that you guys were pretty big pasta eaters, so I wanted to share my Pizza Rotini Bake Recipe. I love it because I can finely chop lots of veggies to get into my kids' bellies without them really knowing it. It's just cooked Rotini, hamburger, pasta sauce, and motz cheese all mixed together in a foil wrapped pan. I normally add garlic, onions, green peppers, and lots of our favorite seasoning (italian, parsley, pizza, etc.) as well. Just bake it for 15 minutes in the over an 375, and you have a great meal. Easy. Thanks for all of your posts!
Is the hamburger browned already?
I started taking home ec in 1968 when I was in 7th grade and took it every year thereafter until I graduated in 1974. I met a girl in my 7th grade home ec class who became my best friend. After we each were married, we weren't able to get together very often. I lived in another town not far away, but we each had small children by this time and time just slipped by. We can go months and even years without seeing each other, but when we talk or see each other, it's as if no time has passed at all. In every home ec class, we collected many recipes each year. We had to keep a notebook of all the recipes we used in each class. We were graded on each notebook, as well. I loved having all those recipes. But, after I got married, during one of our moves, I lost all my notebooks. I was heartbroken, but just chalked it up to being one of those things you wish you could change, but accepting that I couldn't. In 1979, I came home from work and found a gift just inside my screen door. I couldn't imagine who would've brought me a present and left it while no one was home. I came in and opened it and got the surprise of my life. My friend had taken the time to write every recipe out and categorize it and put it in a notebook, even making a table of contents. It was the sweetest, most thoughtful thing anyone has ever done for me. I have always wanted to do it for someone else, just as Donna did it for me. I haven't done it yet, but your article has definitely awakened my desire to do it before it's too late. Thanks so much for reminding me!! 🙂
What an awesome gift! I wish I would of written down my grandmother’s recipes when she was alive. I would love to see what recipes you have? Sounds amazing!
I need to do this so bad!! I find most of my recipes online now and have just started printing them. A binder of my favorites will be coming soon.
Can you please share the details about that awesome stand in your video? I don’t see a link anywhere…
That glass concept looks awesome!
You can find it in our Amazon store HERE!
Any chance you have a printer recommendation for printing recipes?
Unfortunately, no. I got mine from Costco and it’s just okay, so I wouldn’t recommend it!
Okay, where did you find your super cute binder in your video?? For some reason I can’t seem to find a binder 2 inch or larger with a cute cover, and the cute bloom ones from Amazon are only 1 inch! I have been printing my favorite recipes for a long time, but I haven’t gotten a binder yet. I have a LOT of recipes….
Thanks for your videos and posts, they’ve all helped me SO MUCH!
It’s from Target, a LONG time ago! I’m sure they have other cute ones, though!
I’d like a list of the cookbooks you have on the shelf.
Hi! I see you have cookbooks as well, would you copy a recipe from the cookbook and place in your recipe binder if it’s a liked recip? Or just make a note to check said cookbooks?
I’ll actually make a copy of the cookbook page and stick it in the recipe binder, that way all of our favorites are in one place!
A go to recipe that my family always loves is roasted pepper chicken alfredo. First, I pan fry some roasted red(and sometimes some roasted yellow) peppers in a frying pan until their really soft and tender. Next, in the same frying pan, I pan fry the chicken and I’ll switch up the seasonings occasionally. Half the time I season the chicken with just Tony’s and the other half of the time I season the chicken with onion powder, garlic powder, Italian seasoning, and McCormick perfect pinch rotisserie chicken seasoning(I think it’s the best chicken seasoning). When the chicken is done I slice it into thin strips and add it into the alfredo sauce along with the sauteed peppers. Serve over any pasta you like.
Pizza casserole is also a family favorite. You can add whatever you like on your pizza into it so it’s a very customizable recipe. You cook rotini pasta to al dente or slightly past al dente and then you heat up either 1 big jar and 1 small jar of pizza sauce or 3 small jars of pizza sauce on the stove top(if you like pepperoni you’ll want to add them into the pizza sauce while your heating the sauce up). When the sauce is finished heating up and the pasta is finished cooking then add the pasta into the sauce and 1 8 ounce bag of shredded mozzarella, parmesan, mozzarella and parmesan blend, or Italian blend cheese(or whatever cheese you like on your pizza. A Mexican cheese blend would be good if you want to have a Mexican pizza casserole. You’ll have to work fast in this step though. After everything is well mixed, add it into a casserole dish in an even layer and add a layer of whatever cheese you used on top(however much you would like; it can be anywhere from 1/2 to a whole 8 oz bag of cheese). Then bake on 350° 20-25 minutes, or until the cheese is melted and browned.
Chicken taco bake is always a huge hit as well. Boil 3-4 chicken breasts with taco seasoning for 20-25 minutes. When the chicken is fully cooked through, drain and shred while the chicken is still hot and then add 1 can of Rotel diced tomatoes(whichever ones you would like), 2 cans of whatever condensed cream of ___ soup you would like(ex: chicken, mushroom, onion, chicken and mushroom, etc), and either 1 can of Campbell’s condensed cheddar cheese soup or 1 jar of salsa con queso to the shredded chicken. After everything is added, mix thoroughly. When everything is mixed, layer flour tortillas on the bottom of a casserole dish, then add the chicken mixture, then add a layer of crushed tortilla chips, then add a layer of taco cheese, then repeat until you run out of the chicken mixture. The chicken mixture should be the last thing on top(you should be able to get 3 layers btw)and then add a layer of crushed tortilla chips and a thick layer of taco cheese and put into a 400° oven and bake for about 20 minutes, or until the cheese is fully melted and browned.