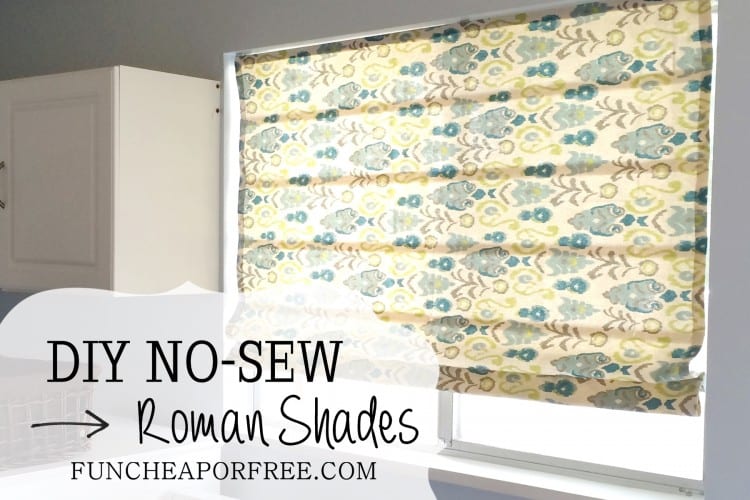
As you probably know, I've been working on updating and decorating my house. (Can you tell I'm nesting??) I really want to put a roman shade up in my poor, bare kitchen…but don't have the budget to buy one. Therefore, it's time to learn how to MAKE some easy, money-saving, DIY no-sew Roman shades! No-sew. For realz, folks.
*Note: When you click the links in this post, we may receive a commission at no extra cost to you.
Switching up window coverings is a great way to totally change the look and feel of a room. When we moved into our house, one of my very first projects was taking down the blinds in our front room and putting up curtains. I have always had a thing for Roman shades. They are so simple, clean, and functional, but holy smokes—they can be expensive! But not anymore! It's so easy, you'll be Roman shading windows all over the place!
Supplies needed for no-sew Roman shades

- Mini blinds
to fit the window (the cheap ones work just fine!)
- Fabric
- Heavy Duty Iron-On Fusing Web
- Iron
- E6000 glue
- Fabric scissors
- Measuring tape
- Pencil
How to make your new favorite shades
The first step is to measure and cut the fabric. Leave one inch on each side of the fabric for “hemming” with the fusing web. Our blinds were 45 1/2 inches wide, so we cut our fabric 47 1/2 inches wide. That gave us an extra inch on each end for hemming. Do the same for the length.

Next, iron the edges down about one inch and place the fusing web under the fold. Then iron over the fusing web – this is what makes these shades ‘No Sew.' I love this stuff!

‘Hem' all four sides of the fabric using the fusing web.

Now set the fabric aside while you prep the blinds. You are going to totally de-assemble them. Start by popping off the little white clip-in pieces on the very bottom of the blinds. There will be 2-5, depending on the size of blinds you're using.

Next, untie the knot in each hole.

Now remove the ladder strings by cutting all the way up. The ladder strings are easy to spot, they are thinner than the cord strings, and they look like a ladder! 😉 DO NOT cut the cord string that runs straight down through the blinds.

Now that the ladder strings are cut and removed, start sliding off all the individual blinds. Leave 4-6 in place, they will make up the Roman shade.

Now lay the un-assembled blinds on the backside of the fabric. Space the remaining blind pieces equally apart. We left five on, plus the bottom piece. We spaced ours about every five inches as shown below. 🙂

Here's where the E6000 glue comes in. Run a strip of glue along the curved side of each piece and glue onto the fabric, being sure to keep your spacing right.

Once each piece is glued, glue the top and the bottom piece in place as well. Also, break off the little wand hook that's on the top.

Now thread the strings back through the holes in the bottom piece and tie a knot.

They will hang the same way the regular blinds hang using the hardware they come with. Super simple!

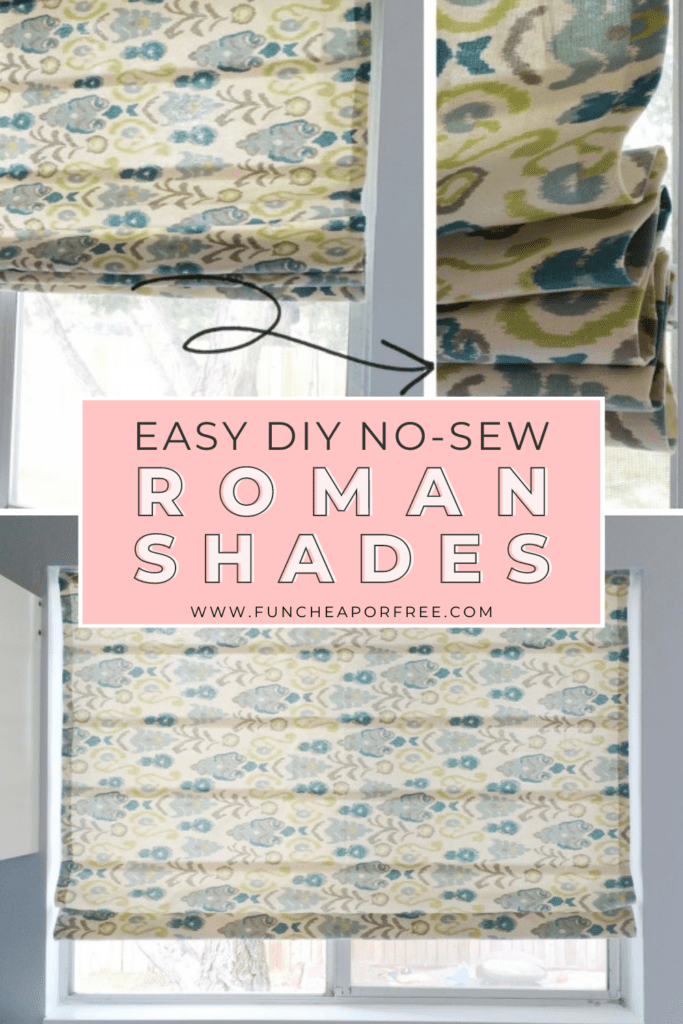
There you have it! Some beautiful, custom Roman shades! They pull up and down easily using the string pulls on the original blinds, they hang just behind the shades on the right side. Look how nice they fold up!


I am honestly so in love with how these turned out! I just used the existing mini blinds that were in the window, so the only expense was the fabric. Hit a fabric store and use a coupon and this is one inexpensive project! (We got this fabric from Hobby Lobby and used a 40% coupon, so the fabric cost less than $5!)


So beautiful, right?! We're so in love with them!
Looking for more fun ideas?
- Come see which 6 home essentials we recommend, plus ways to find them cheaper!
- Use our 4 spring cleaning tips to keep your home clean all year long!
- You won't believe these genius home organization ideas to hack your life!
Happy Roman shading! 😉

How do they look from outside the house while down?
I’m curious about this as well. Wonder if you could double the material and cover the back side as well so that it looks nice from the outside?
Hi! Thanks so much for bringing this tutorial! 2 hrs hunched over on the floor, I gathered my fabric, cut, glued and waaaaa laaaaa my very own roman shade! Ok, there was some “sewing” done too. 🙂 It turned out fantastic! I’m going to make another one, but I’ll give my back some rest. *Note to self- stand and use the table next time! lol
I just got mine and was beyond excited to whip it out this weekend while I was working on making curtains for our master bedroom. I hung the curtain rods first. Then I measured from the top of the curtain rod to the floor. In two seconds, I had a precise measurement without zero frustration
That’s great! I’m so excited for you!
I made these this weekend with cordless shades, a little more challenging but it still worked! I few notes i would make is to glue 2 blinds together per rung since there are so many extra, that way each mini blind you glue on to the back of you shade is thicker and more supportive. Love the way mine came out they look very professional.
That’s such a great idea, thanks for sharing! 🙂
When you ‘re-thread’ the cord are you passing the cord through the glued blind slates as well as through the bottom? I think I miss seeing if that is what you did. Otherwise, it seems that the cord would just hang out when you raise the shade! Thanks for the tutorial! Can’t wait to try it!
4-6 of the blinds should stay on the cord to make the roman shade so you shouldn’t have to re-thread any of the blind slats. Hope that helps!!