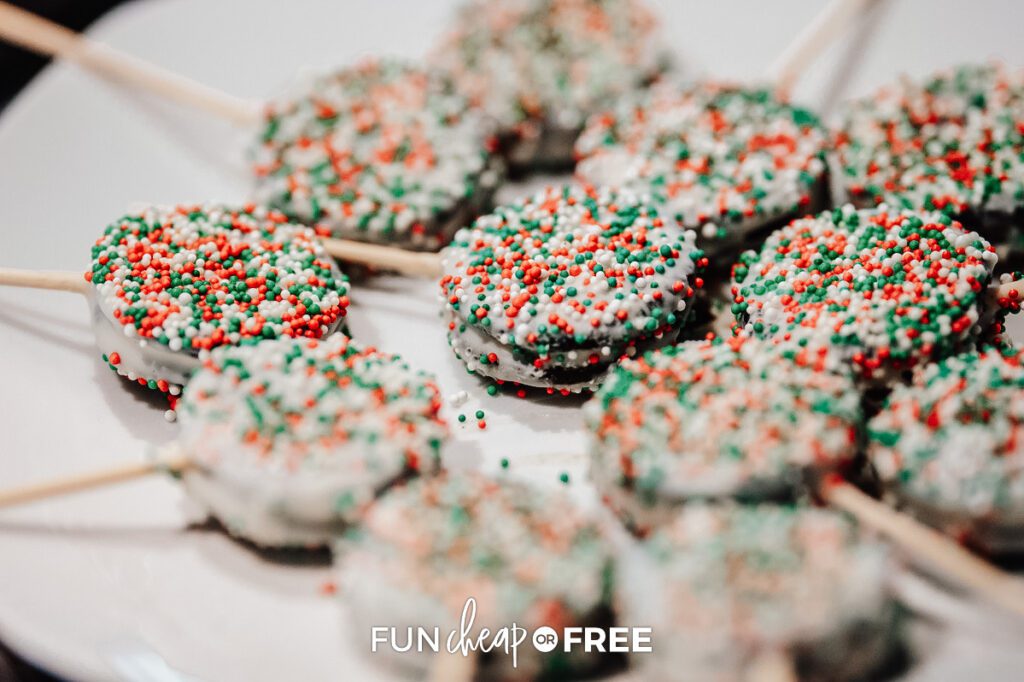
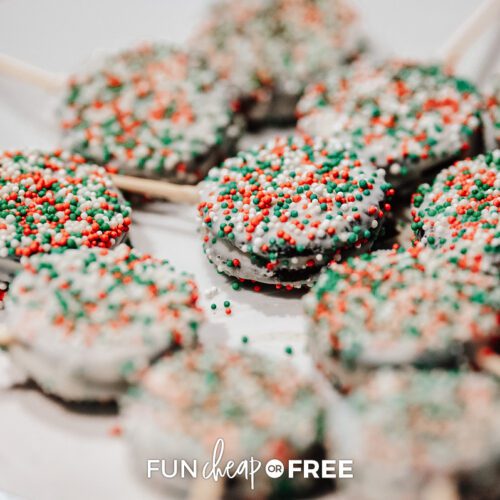
We're just going to say it… Oreo pops are the perfect dessert! These adorable and tasty treats are fun, cheap, and SO easy to make. They are sure to be a hit for any event!

Whether you need a sweet little something for a holiday party or you just need a treat on a Tuesday night, these Oreo pops are exactly what you've been looking for! With only three ingredients, they could not be any easier to make. In fact, it's the perfect way to get little hands involved in the kitchen!
*Note: When you click the links in this post, we may receive a commission at no extra cost to you.
Trust us, you'll want to make a few extra of these babies because there is no way you can make a batch without snagging a few for “taste testing!” For research, right?! Okay, we all know what you're really here for… Let's get on with these fun pops already!
WHY MAKE THESE POPS
Besides being absolutely delicious and irresistible, these Oreo treats are super cheap to make and just downright cute! Put them on paper sticks and make them “pops,” or simply leave them as dipped Oreos ready to grab and pop into your mouth. Since they are so versatile, you can make them fit any theme you could possibly need them for. Win!
WHAT YOU NEED TO MAKE THESE POPS

These Oreo pops are so easy and literally only use three ingredients! However, there are a couple more things you may want to have on hand to make sure things go smoothly.
Yep, that's really all you need!
WHEN TO MAKE OREO POPS
If we're honest, Oreo pops are good any day of the week, right?! However, these little sweet treats are especially easy and fun to make for holidays or special occasions. Here are some of our favorites!
- Holidays – Christmas, Fourth of July, Thanksgiving, Easter, and allll the other major holidays you can think of! Simply sprinkle the appropriate holiday colors on top and you're ready to go!
- Birthday Parties – These little Oreo pops are such a hit at birthday parties! Plus, they are easy for little hands to grab and munch on.
- Gender Reveal – Make some of these Oreo pops in blue and some in pink for a fun dessert during a gender reveal party!
- Baby Showers – The perfect finger food for a baby shower!
- Weddings – Dress these babies up in white and candy pearls for an elegant wedding-themed treat!
The possibilities are truly endless with these fun sweets!
HOW TO REPURPOSE OREO POPS
Although it's highly unlikely there will be any leftover Oreo pops, we've got some great ways to use them up juuust in case! 😉
- Ice Cream Topping – Put your leftover pops in a ziplock baggie and crush those suckers into pieces. Sprinkle on top of our yummy homemade ice cream and you will not be disappointed.
- Cake Pops – Crush these Oreo pops and add them to cake pops for a new fun spin!
- Cheesecake Crust – Crush and form into a delicious crust for a decadent cheesecake. Yes, please!
- Yogurt Topping – Skip those pricey cookie crumble yogurt cups and make your own with leftover pops.
- Freeze Them – Okay, so not technically repurposing… but these Oreo pops freeze great and make the perfect midnight snack when you just need a little somethin' sweet!
No matter how you eat them, we promise these Oreo pops will not disappoint!
OREO POPS RECIPE
You will not regret making these delicious Oreo pops! It's a great way to get your kids involved, so grab the sprinkles and get to making together.

3 Ingredient Oreo Pops
Ingredients
- 1 package Oreos
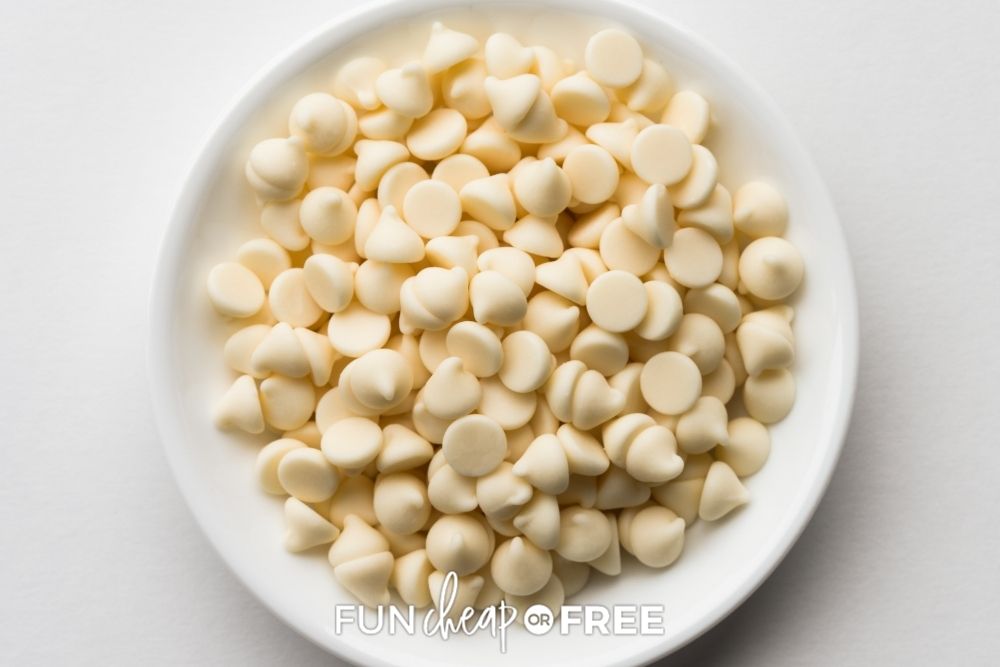
- 20 oz melting chocolate or candy melts
- sprinkles
- wax paper
Instructions
- Melt the chocolate or candy melts in a double boiler or the microwave. If using a microwave, heat in 30 second increments, stirring between.
- Separate the Oreos and insert your sticks. Add a little bit of the melted candy or chocolate to keep the stick in place and reattach the cookie.
- Let the Oreo pops sit until they set-up and the sticks are secure.
- Once the sticks are firmly in place, dip your Oreo pops in the melted chocolate or candy and lay the Oreo pops on wax paper.
- While the chocolate is still melted, sprinkle your choice of sprinkles on the Oreo pop!
- Let the Oreo pops lay on the wax paper until fully set, approx. 20 – 30 minutes.
- Enjoy!
Notes
Is your mouth watering yet? Yeah, ours too. Hold on juuuust a sec while we run to our pantry to grab the ingredients for these yummy pops…
Have you made these fun pops before? Let us know in the comments below!

Looking for more party money-saving tips and tricks?
- This cheap and easy party punch is a must-make!
- Need to feed a crowd? These cheap party foods are great for any occasion!
- Don't throw that leftover party food out! Use these creative ideas to reuse it.
Now, pop to it!

I absolutely love these!! I’ll be making them with my nieces!! Happy 4th!! 🙂
Mel | http://www.thegossipdarling.com